
Downloading the Backup Software - Windows
To install the backup software of MyBackupPartner on the local computer the following steps have to be followed.After ordering and activating the package, the login details will be sent to you, you can use these to log in to the following link to start this process:
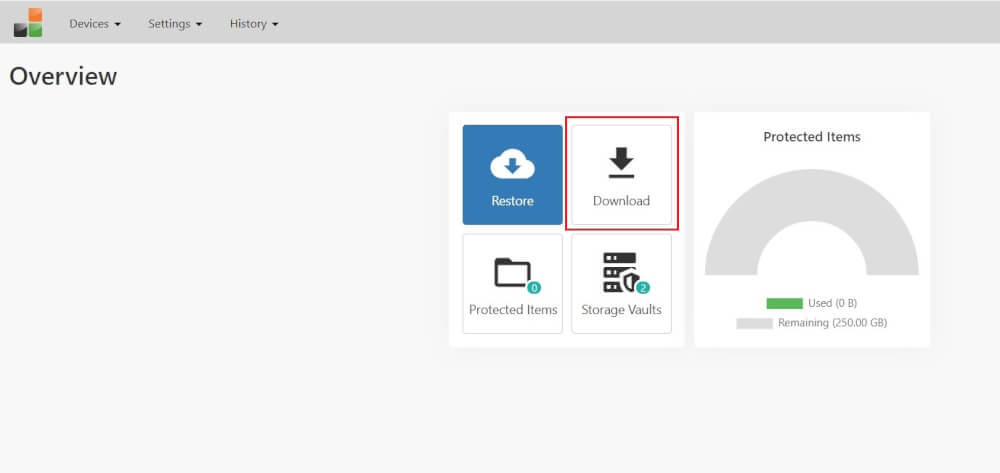
After this you will arrive at the main menu from which the Download option can be selected.
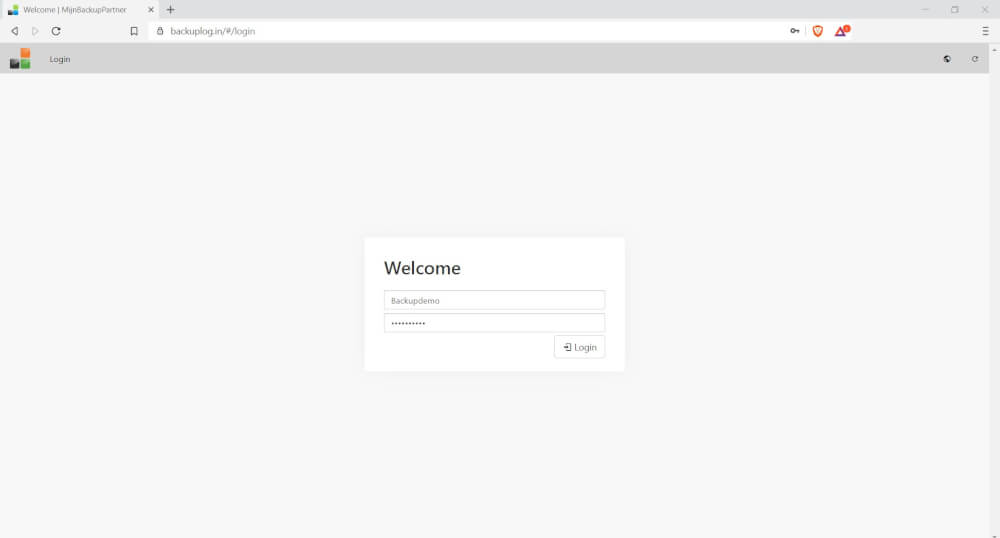
After the login:
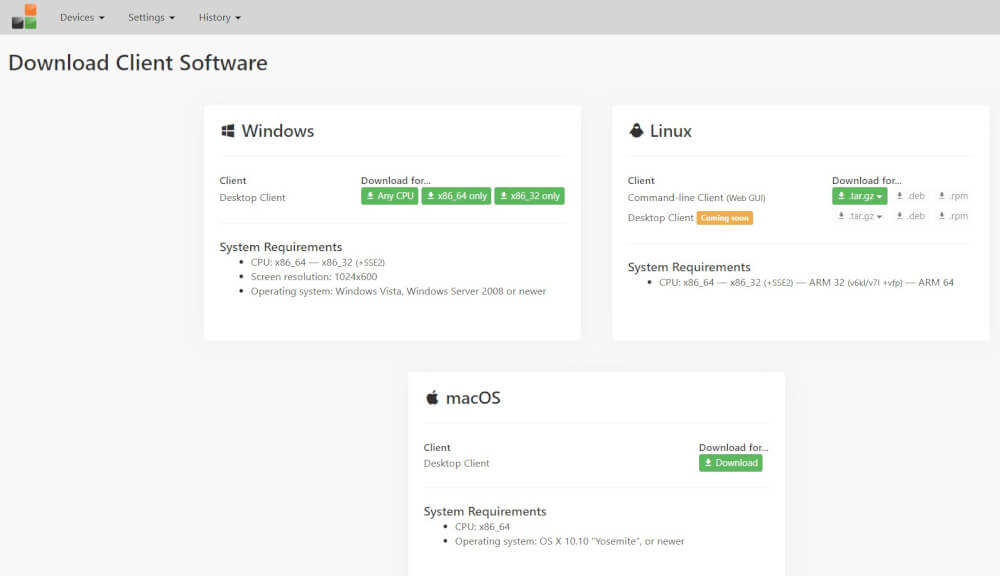
An option list is now shown for installing the Backup tool from MijnBackupPartner.nl here we select for the Windows installation for the Windows option in 64 bit. If you don't know which one you should have is to go for the Any CPU option.
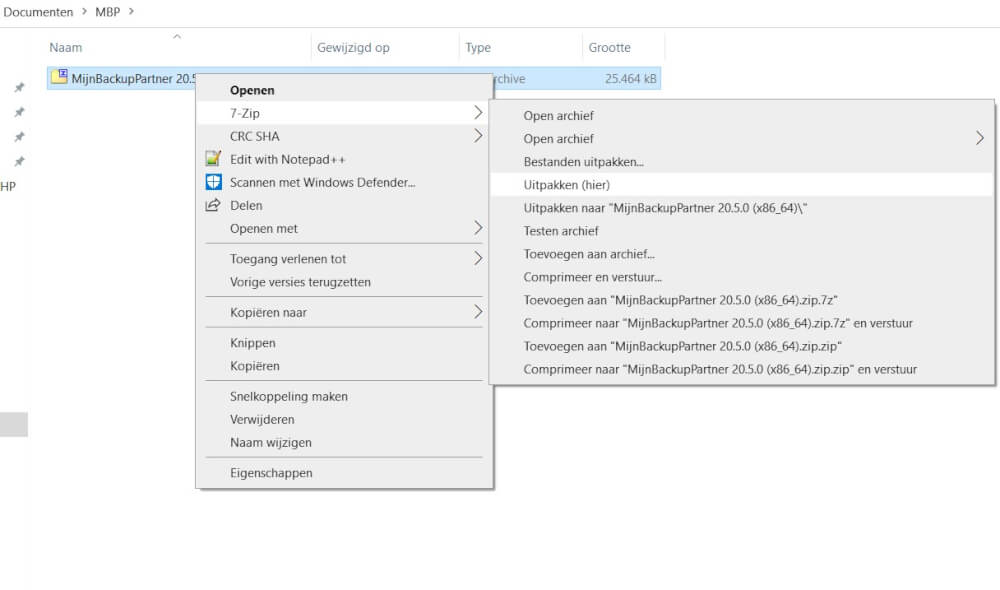
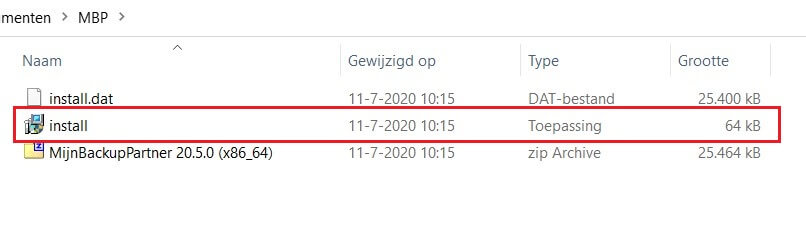
Go to the download folder where the ZIP file was downloaded and unzip it to run the EXE file. In this example we will use 7zip for this, this is also the standard tool from windows for this.

Next double click on the EXE file to start the installation.
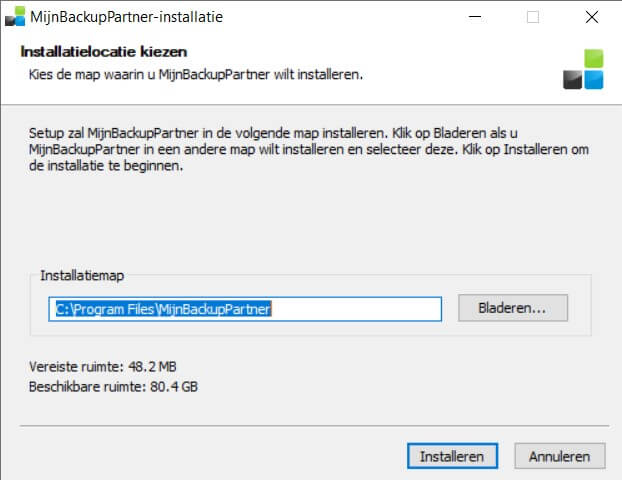
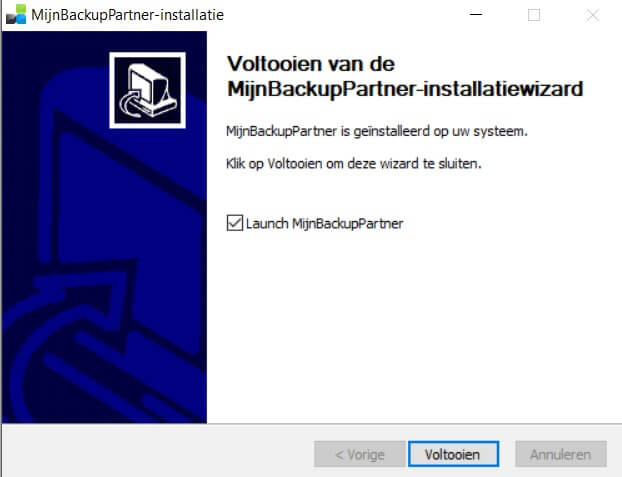
The tool then opens and the installation can be performed. The only thing that may need to be adjusted is the installation folder. This can also be left completely default.
There will now also be a standard icon in your Windows taskbar with which the application can be started. The application will also start up together with Windows.
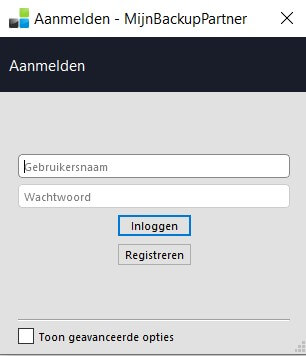
The login details are the same as the login details used for the web portal.
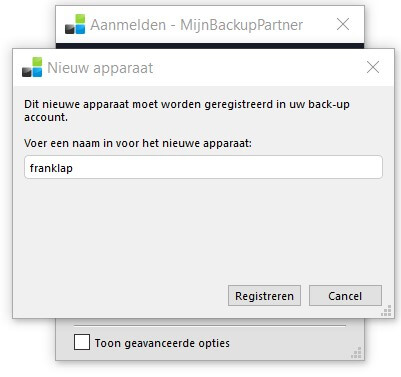
Give a logical name to the machine that will be backed up. In this case this is the PC name.
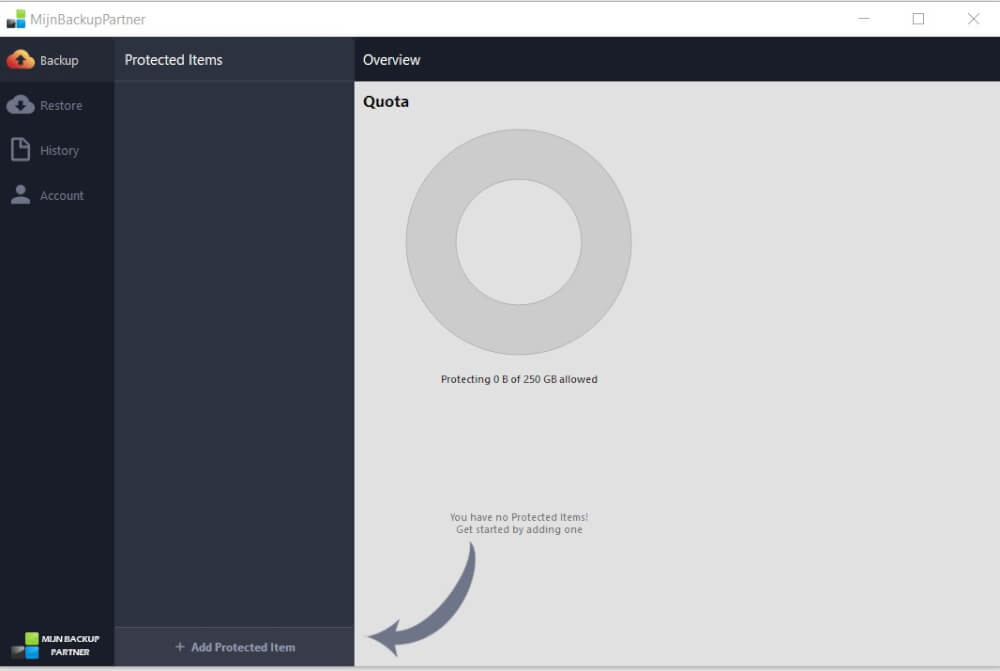
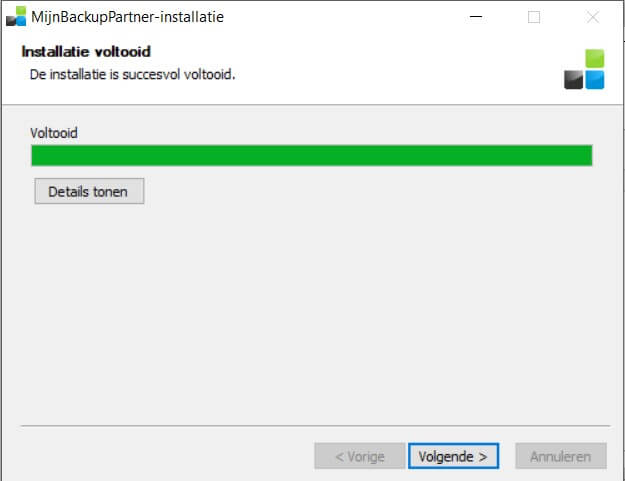
After this the application is installed and ready to use! See the next article for further configuration of the backup.